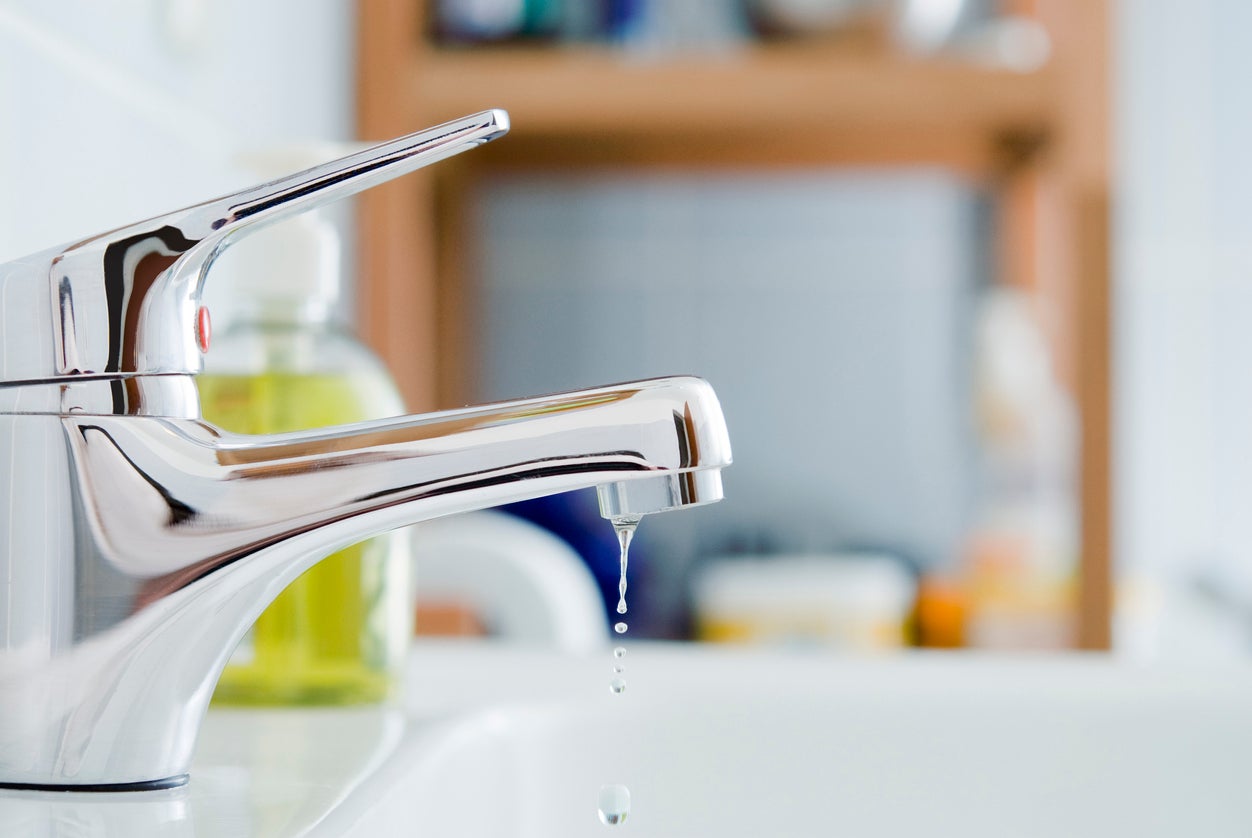
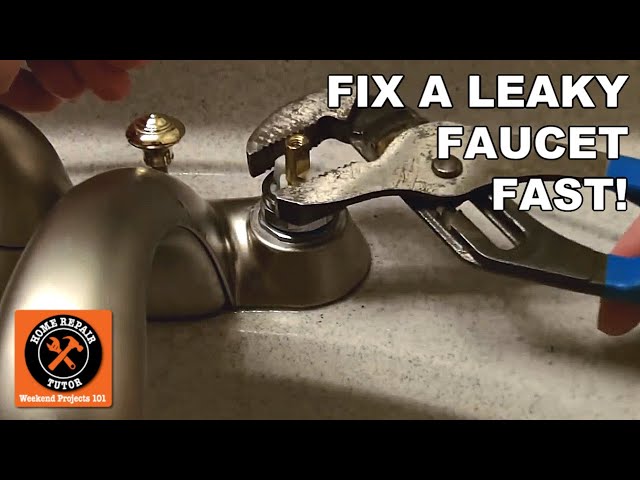
Quick Tips for Leaky Faucet Repair: Fix a leaky faucet by inspecting the valve, tightening any loose screws or handles, and replacing worn-out washers or O-rings. Introducing our helpful guide, designed to assist you in resolving common faucet leaks efficiently.
Whether it’s a dripping or a steady stream, leaky faucets are not only irritating but can also waste a significant amount of water. By following these easy-to-implement tips, you can save both water and money by addressing the issue promptly.
With a few simple tools and basic plumbing knowledge, you can become your own handyman and conquer leaky faucet repair in no time. Say goodbye to that annoying drip and hello to a better-functioning faucet. Let’s get started on fixing that drip!

Credit: m.youtube.com
Identifying The Problem
Quick Tips for Leaky Faucet Repair:
When faced with a leaky faucet, it’s essential to identify the problem accurately in order to fix it effectively. This will not only save you time and effort but also prevent further damage to your plumbing system. In this article, we will guide you through the process of identifying the problem, starting with determining the type of faucet.
Determining The Type Of Faucet:
To begin with, you need to determine the type of faucet you’re dealing with. The most common types of faucets include compression faucets, cartridge faucets, ball faucets, and ceramic-disc faucets. Each type has its unique design and mechanism, and knowing which type you have will help you understand how the faucet functions and how to go about repairing it.
If you’re unsure about the type of faucet you have, here’s a quick guide to help you:
| Type of Faucet | Characteristics |
|---|---|
| Compression Faucets | Two handles for hot and cold water; require multiple turns to turn off the water flow. |
| Cartridge Faucets | One or two handles; single lever controls the water temperature; may have a decorative cap on top. |
| Ball Faucets | Single handle that moves in all directions; round ball-shaped handle; may have a dome-shaped cap on top. |
| Ceramic-Disc Faucets | One or two handles; smooth operation; may have a lever or joystick-style handle. |
Locating The Source Of The Leak:
Once you’ve determined the type of faucet, the next step is to locate the source of the leak. A leak can originate from various places, such as the handle, spout, or base of the faucet. By identifying the exact location of the leak, you can narrow down the possible causes and troubleshoot more effectively.
Here’s how you can locate the source of the leak based on the type of faucet:
- Compression faucets: Leaks can occur from the handle or the spout. Check if the leak is continuous even when the handle is turned off; if so, the problem is likely with the valve seat and may require replacement.
- Cartridge faucets: Leaks can occur from the spout or handle. If the leak persists when the handle is in the off position, the cartridge needs to be replaced.
- Ball faucets: Leaks can occur from the handle, spout, or base. If the leak is continuous even when the handle is off, it indicates a problem with the O-rings, which should be replaced.
- Ceramic-disc faucets: Leaks can occur from the spout or handle. If the leak is coming from the handle, you may need to replace the entire cartridge.
Identifying the problem is the first step towards solving a leaky faucet issue. By determining the type of faucet and locating the source of the leak, you can proceed with the appropriate repairs, whether it’s replacing a valve seat, cartridge, O-rings, or the entire cartridge.
In the next sections, we will delve deeper into each type of faucet, providing you with step-by-step instructions on how to fix common issues. Stay tuned!

Credit: www.pinterest.com
Repairing The Leaky Faucet
With these helpful tips, you can quickly repair a leaky faucet in no time. Stop wasting water and money by following our easy steps for a hassle-free fix.
Repairing the Leaky Faucet When it comes to home maintenance tasks, few things can be more frustrating than a leaky faucet. Not only can the constant dripping sound be annoying, but it can also waste a significant amount of water over time. Fortunately, fixing a leaky faucet is a relatively simple and cost-effective task that you can do on your own. All you need is a few basic tools and materials, and you’ll be able to tackle this common household problem in no time. H3: Gathering necessary tools and materials Before you begin repairing the leaky faucet, it’s essential to gather all the necessary tools and materials. Having everything you need handy will not only save you time but also ensure a smooth repair process. Here are the tools and materials you’ll need: 1. Adjustable wrench 2. Screwdriver (Phillips or flathead, depending on the faucet type) 3. Replacement parts (such as O-rings, washers, or cartridges) 4. Plumber’s tape 5. Bucket or towel to catch any water drips Step-by-step guide for fixing a leaky faucet Now that you have all the necessary tools and materials, it’s time to dive into the step-by-step guide for fixing your leaky faucet. Follow these simple instructions to repair the leak: 1. Turn off the water supply: Before you begin any repair work, it’s crucial to turn off the water supply to the faucet. Look for the shut-off valves under the sink and turn them clockwise until the water stops flowing. 2. Disassemble the faucet: Use your screwdriver to remove the handle of the faucet. If there is a decorative cap covering the screw, carefully pry it off using a flathead screwdriver. Once the handle is off, locate the retaining nut and unscrew it counterclockwise to remove the cartridge or stem assembly. 3. Inspect and replace faulty parts: Examine the cartridge or stem assembly for any signs of damage, such as cracks or worn-out washers. If you find any faulty parts, carefully remove them and replace them with new ones. Be sure to refer to the manufacturer’s instructions or consult a guide specific to your faucet type for proper replacement. 4. Reassemble and test the faucet: Once you have replaced any faulty parts, reassemble the faucet in the reverse order of disassembly. Tighten all screws and nuts securely, ensuring there are no leaks. Turn on the water supply and test the faucet to verify that the leak has been successfully repaired. Remember, fixing a leaky faucet is a relatively straightforward task, but it requires patience and attention to detail. By following this step-by-step guide and having the necessary tools and materials on hand, you can save yourself the hassle of hiring a professional and resolve the issue quickly. Now, it’s time to put these tips into practice and say goodbye to that persistent drip!
Credit: www.bobvila.com
Frequently Asked Questions Of Quick Tips For Leaky Faucet Repair
How Do You Temporarily Fix A Leaking Faucet?
To temporarily fix a leaking faucet, start by turning off the water supply. Then, cover the drain to prevent any small parts from falling in. Next, remove the faucet handle and replace any worn out or damaged seals or washers.
Finally, reassemble the faucet and turn the water supply back on.
What To Do If My Faucet Keeps Dripping?
If your faucet keeps dripping, you can try fixing it yourself by tightening or replacing the washer or cartridge. If that doesn’t work, you should call a plumber to fix the issue. Acting quickly can help save water and prevent further damage to your faucet.
What Can I Use To Seal A Leaky Faucet?
To seal a leaky faucet, you can use plumber’s tape or thread seal tape. Wrap the tape around the threaded parts of the faucet to create a tighter seal and prevent leaks. This simple solution can help fix the problem quickly and easily.
How Do You Fix A Dripping Faucet With Two Handles?
To fix a dripping faucet with two handles: 1. Turn off the water supply to the faucet. 2. Remove the handle caps and screws. 3. Take out the handles. 4. Replace the worn-out O-rings, valve seats, or washers. 5. Reassemble the faucet and turn on the water.
The dripping should be fixed.
Conclusion
These quick tips for leaky faucet repair can save you time, money, and frustration. By following the step-by-step instructions, you can easily identify the issue, gather the necessary tools, and fix the problem without the need for professional help. Remember to turn off the water supply, tighten any loose connections, replace worn-out parts, and test for any leaks after completing the repair.
With these simple techniques, you can restore your faucet’s functionality and enjoy a leak-free sink or shower.
